Here I’m going to show you how you can install WordPress using AWS Lightsail, set up a CDN for high performance, and handle traffic spikes without a problem from $6 per month.
WordPress is an open-source content management system; and powers over 40.0% of all the websites on the Internet. There is a huge ecosystem of plugins and themes. The end result is that WordPress makes building a website accessible to anyone – even people who aren’t developers.
For simplicity in this post, I will focus on setting up all parts in a dedicated VPS instance in Amazon Lightsail. It is the easiest way to get started with AWS for developers. Lightsail provides developers with compute, storage, and networking capacity and capabilities to deploy and manage websites and web applications in the cloud. The pricing of these VPS is similar to a three year reserved EC2 instance without the commitment. It’s a competitor service to Digital Ocean.
1. Creating the VPS with WordPress
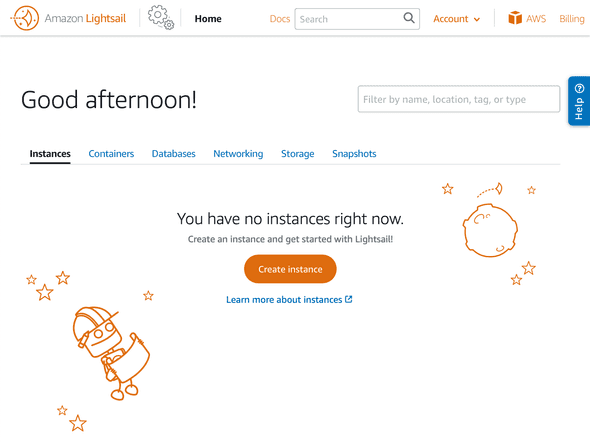
To create the server or instance as it’s called in the AWS ecosystem, navigate to AWS Lightsail, select the “Instances” tab, and click on “Create instance”.
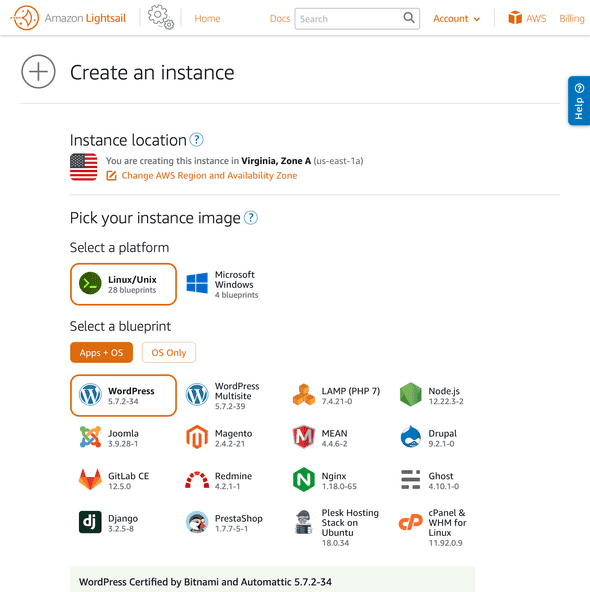
In the next screen, you can select in which region you want to base your server. As the server’s type of operating system image, I choose a Linux server with WordPress and its dependencies installed by default. Bitnami creates the server image, and you can see the documentation for it on their website. As the default tech stack installed in the server, we have Apache HTTP server, Maria DB, PHP, PhpMyAdmin and WordPress.
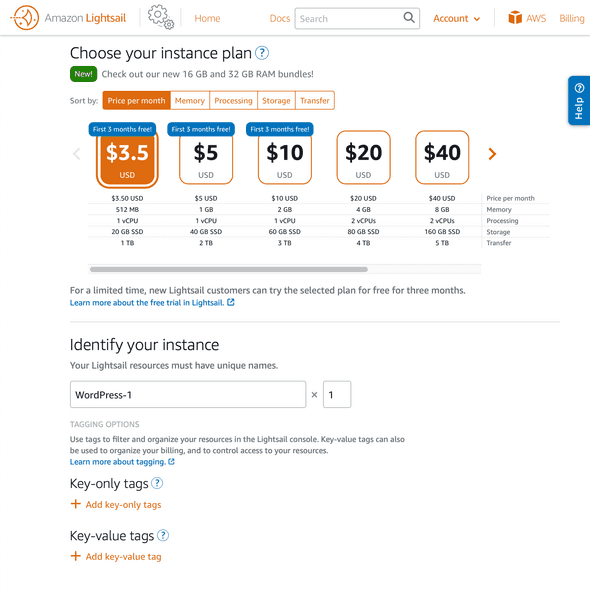
For this demo, I’m selecting the smallest VPS on offer. We are also adding a CDN in front of the primary server. You don’t need a larger instance unless you have many editors or other specific needs.
Scroll to the bottom of the page and click on “Create instance”. You will see that the new instance is being created. And after a few minutes, you will see it’s in the “running” state.
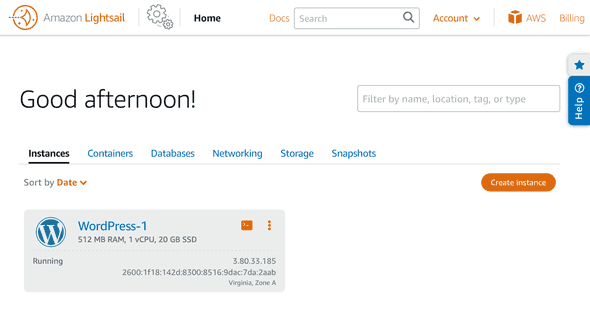
Click on the instance name to navigate to the details.
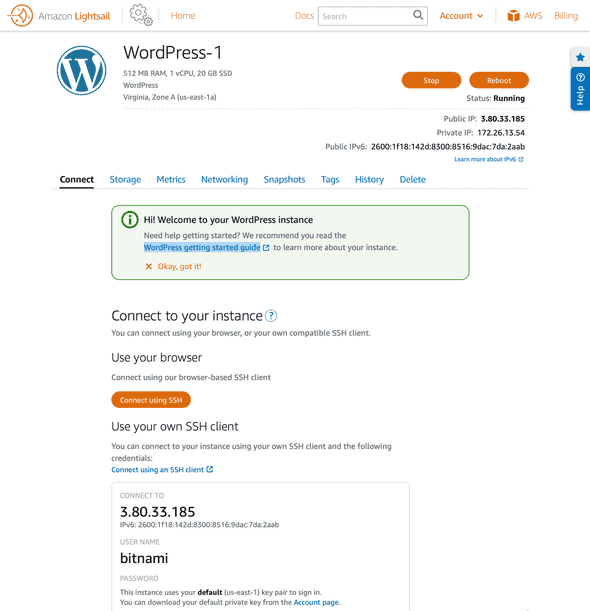
In this screen, you can see the public IP, and you can also connect to the VPS using SSH from the website, so you don’t need to use your terminal or putty to connect to the instance. Go ahead and click on “Connect using SSH” so we can find out the logging details for the WordPress dashboard.
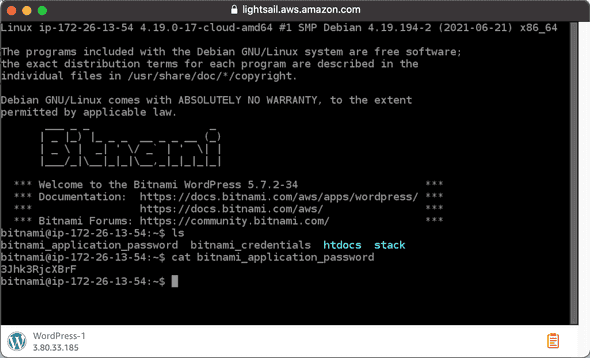
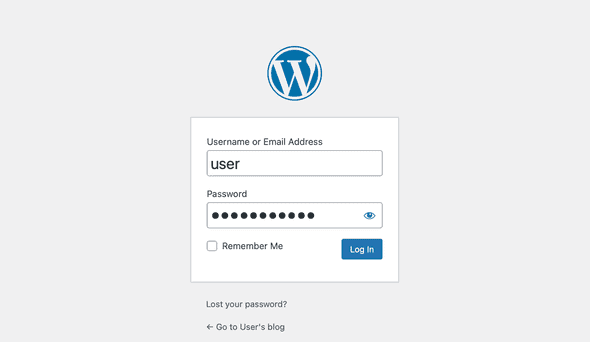
Once you are in the terminal, you just need to type cat bitnami_application_password and that will show your access password. The default user is user.
Now you can open the default homepage by navigating to http://PUBLIC_IP. In my case, that is http://3.80.33.185.
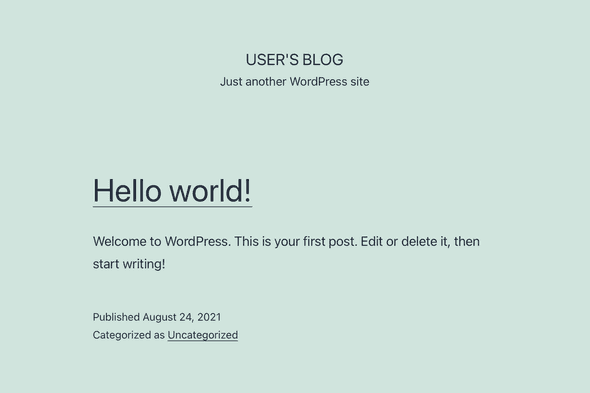
Open the admin panel by navigating to http://PUBLIC_IP/wp-admin. In my case, that is http://3.80.33.185/wp-admin, and enter your credentials to log in.
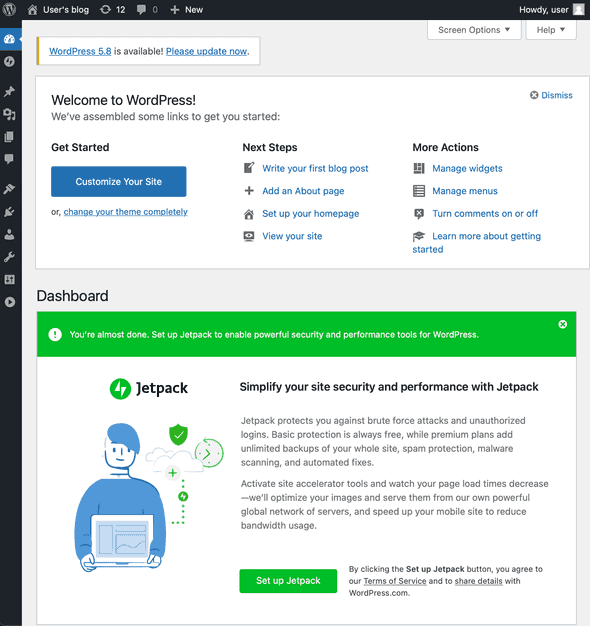
Once you log in to the dashboard, you can edit, delete or create new content in pages and blog posts. And change settings or configure integrations for your blog. But I can see a message in the top left, announcing that WordPress 5.8 is available. Usually it’s recommended to make a backup before updating WordPress, but as we have a new blank install here, I will click on “Please Update now”
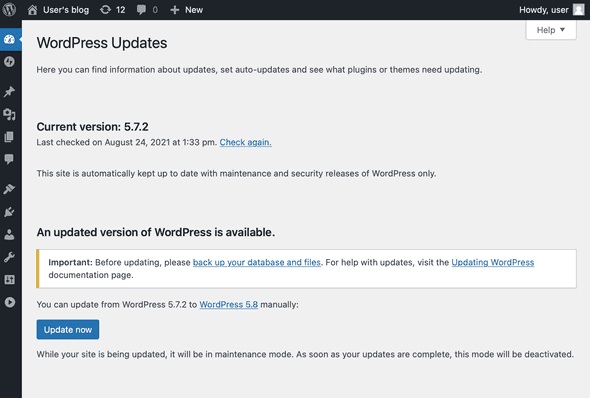
In this screen, I only need to click on the “Update now” button.
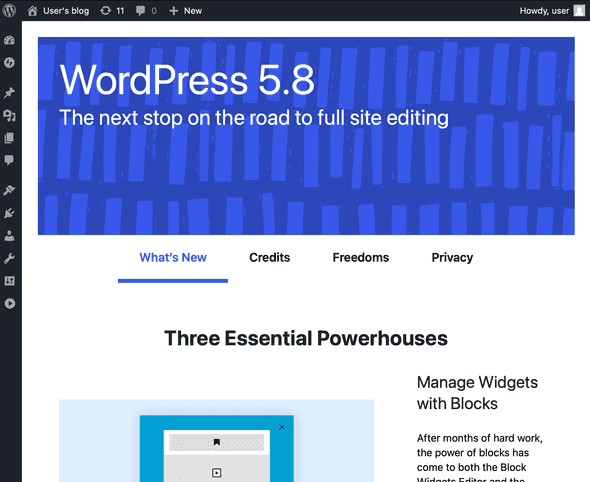
After a few seconds, I am presented with the summary of new features added in WordPress 5.8.
I also have 8 outdated plugins, so I navigate to the plugins section, select them all, then click on Update. After a few seconds I will have a fully updated WordPress install with all plugins up to date.
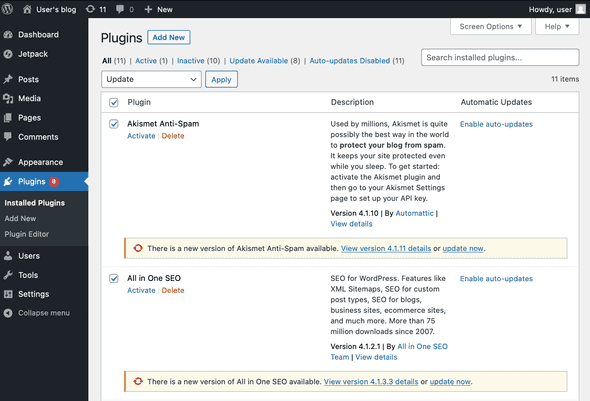
Keeping your WordPress installation and plugins up to date is essential. As I mentioned above, WordPress is widely used, so many people are also trying to take advantage of outdated sites that might have known bugs.
2. Configure Email
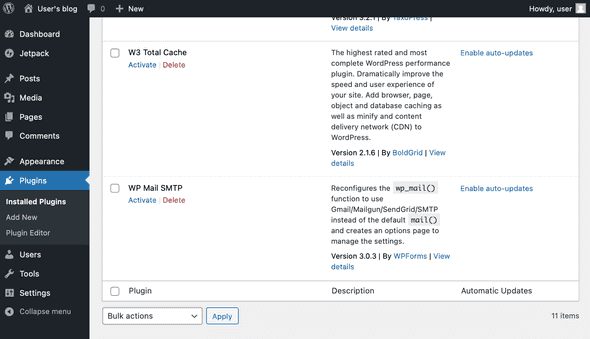
In WordPress, you need to send transactional emails, user invitations, password resets, etc. Bitnami stacks do not come with the SMTP settings pre-configured. Therefore you must manually configure the settings yourself. We can connect via SSH again into the instance and edit the configuration file /bitnami/wordpress/wp-config.php. Or we can activate the plugin “WP Mail SMTP” to use the UI Dashboard. In order to do that, select Plugins from the dashboard menu, and at the bottom, you can see that WP Mail SMTP plugin can be activated by clicking on “Activate”.
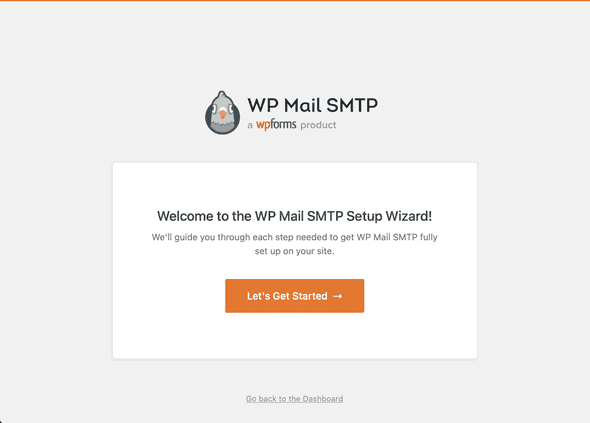
You can see the initial step of the configuration wizard. Click on “Let’s Get Started”.
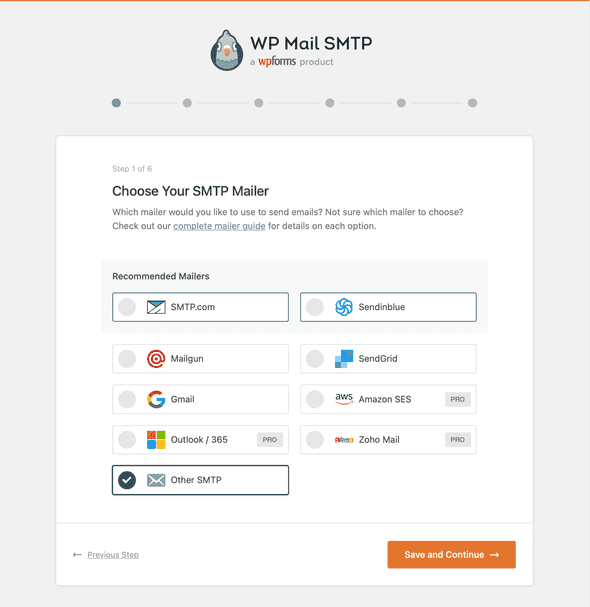
Several email providers are displayed, I’m selecting other SMTP and click on Save and Continue.
I am using my Gmail account details, then click on Save and Continue.
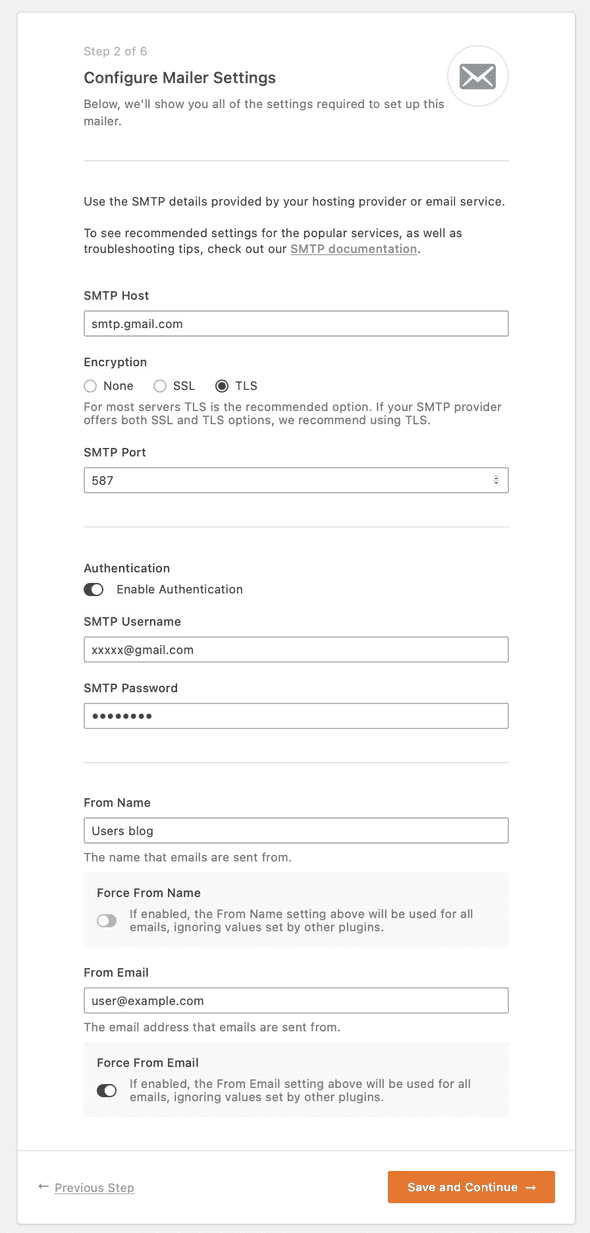
I am leaving the defaults and continuing to the next step.
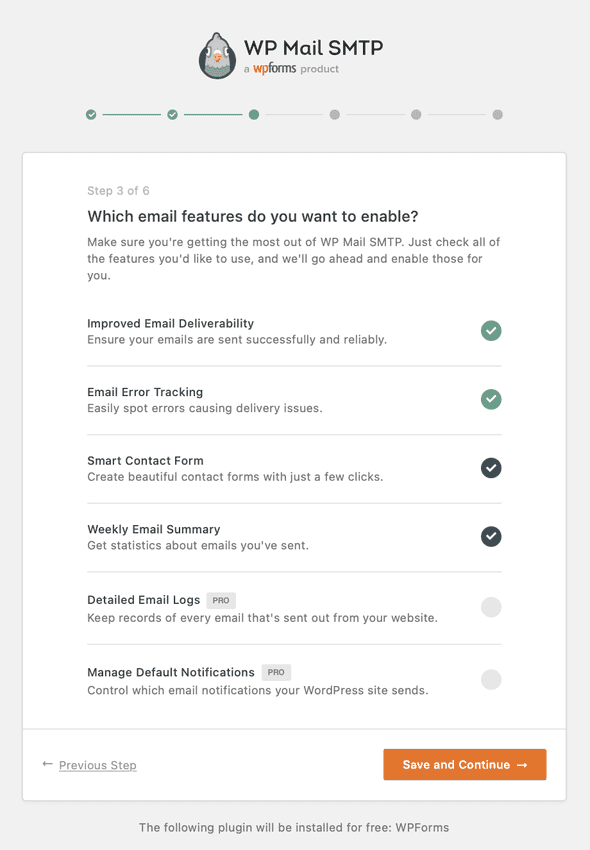
Here I am skipping this step.
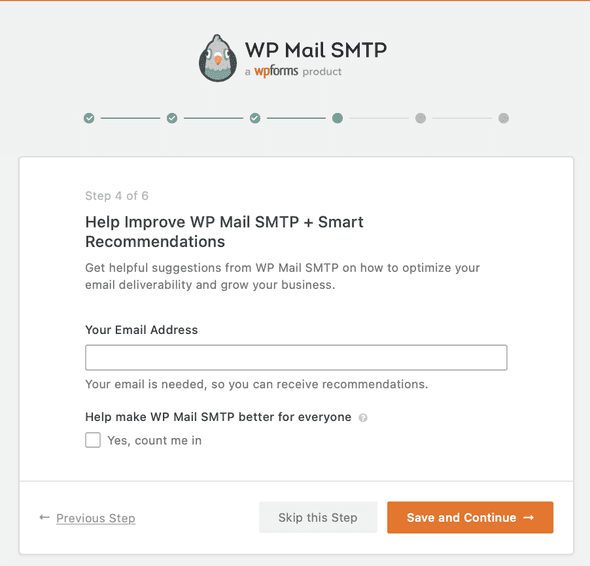
I am also skipping this step as I don’t have a PRO License.
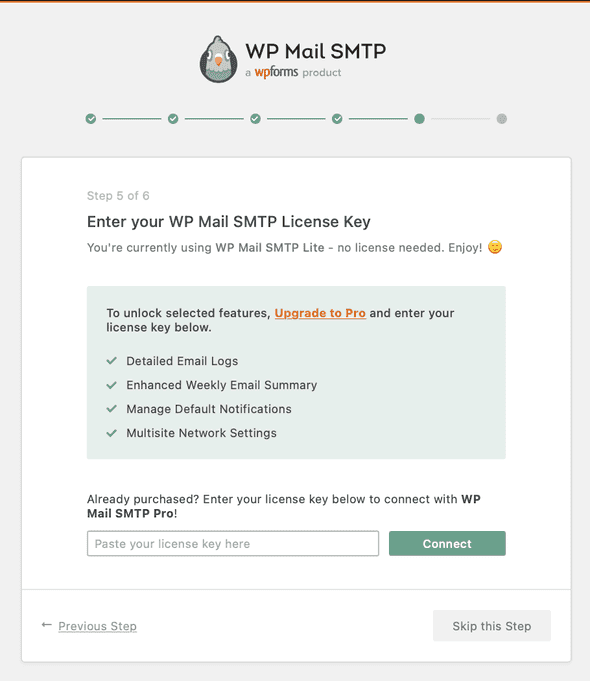
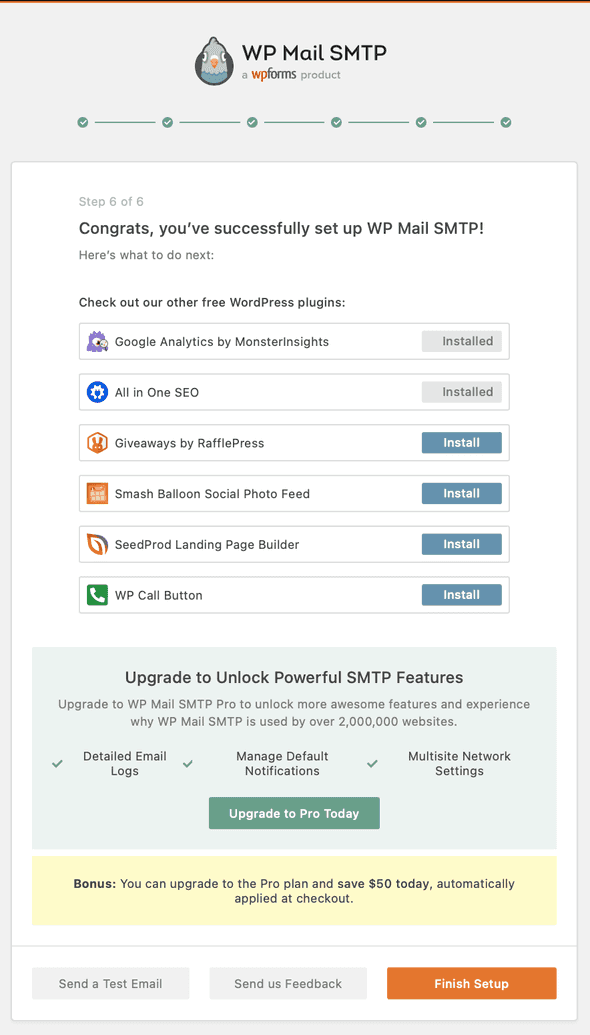
Now that the plugin is setup, click on “Send a Test Email”.
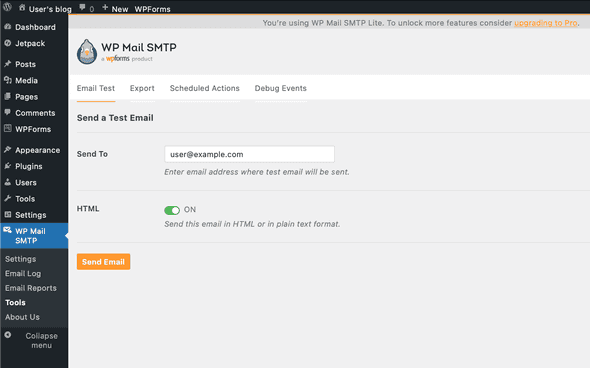
Here I just click on Send Email.
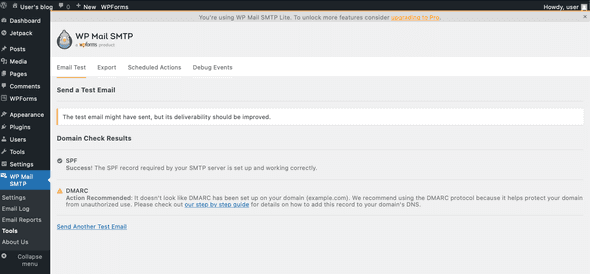
I get a success screen, and I can also verify that I get the email in my inbox. Remember to update the administartor “user” email address, as that is the one used to send the test email.
You can always update these settings by navigating to the new menu item “WP Mail SMTP” on the left navigation bar.
3. Add a CDN for Increased Speed and Low Latency
CDNs offer an easy way to increase the speed of a website while also lowering the latency. Therefore, they are essential for the fast, efficient and secure delivery of content to worldwide users. With website visitor attention spans growing shorter by the day, delivering this content as quickly as possible is imperative. Also, if any of your posts become viral or you have a high traffic spike, the CDN that acts as a cache layer will remain online, and you will be able to handle traffic peaks successfully.
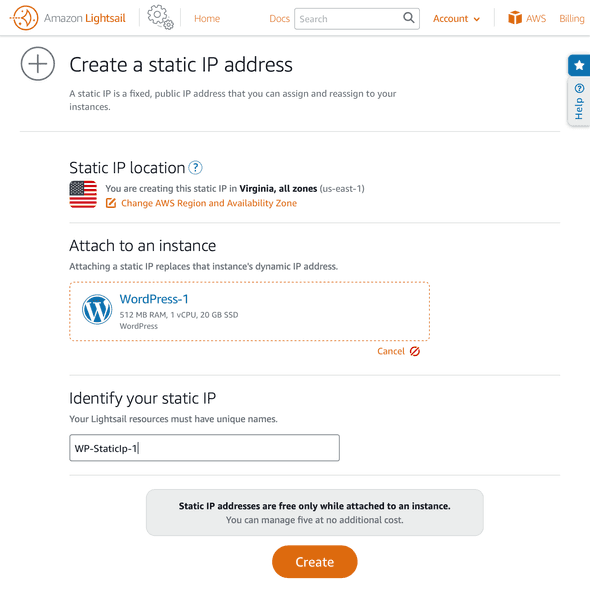
At the moment, our server has a random IP assigned by AWS that will change each time that you restart the server. We need to assign it a static IP to be able to attach a CDN to the server.
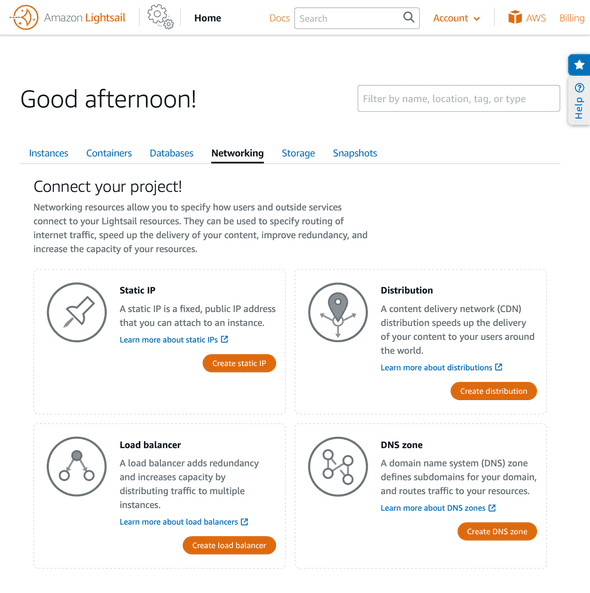
From the Lightsail dashboard, select the Networking tab, then click on “Create static IP”.
I select the WordPress instance as the one I want to attach to the static IP. Assign it a name. Then I click on Create.
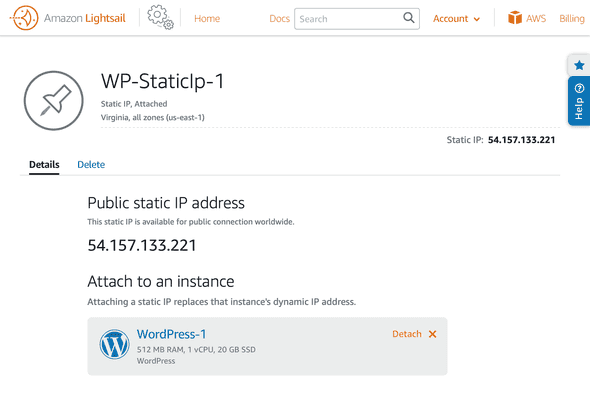
Now you can see that the IP is assigned to the instance:
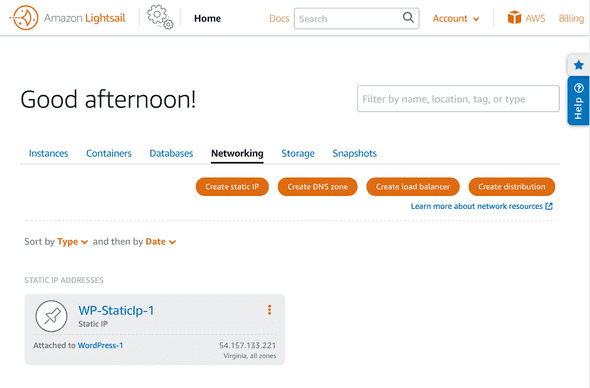
To create the CDN, go back to the Lightsail dashboard, and select the Networking tab. Click on Create distribution.
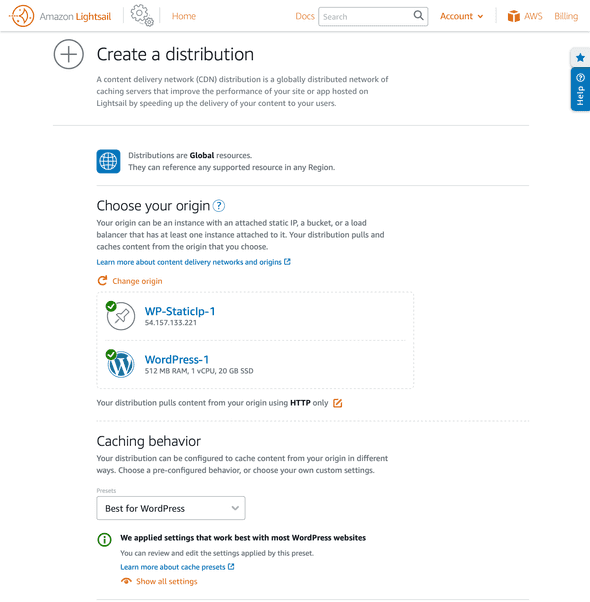
As Origin for the CDN, I select the WordPress server. Then as Caching Behaviour, I select “Best for WordPress”. Behaviour is like a rule that specifies how the content must be cached and for how long. In this case, the “Best for WordPress” behaviour is set to Not cache everything, except the content under “/wp-content” and “/wp-includes”. You might be wondering how not caching is going to help with performance. We are talking about defaults here. CloudFront reads for each response if the header Cache-Control: max-age=seconds is present, then use it. So basically, the WordPress back-end is responsible for setting the right headers so that the CDN can cache the server responses for the time specified for each request. Finally, as we know that in the folders “/wp-content” and “/wp-includes”, we only store static assets. We want to cache those by default, even if they don’t include any “cache-control” headers in the response.
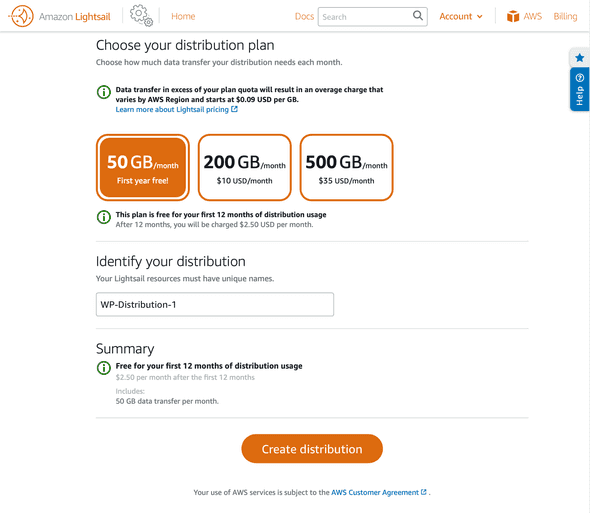
If you scroll down, depending on your traffic, you can select the monthly data transfer that you will need to include with your CDN, give the distribution a name and click on Create distribution.
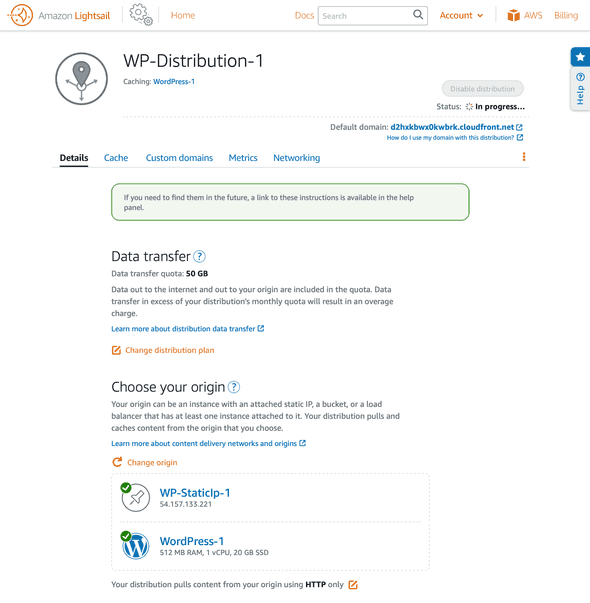
Here you can see the details about the CDN distribution, and it should take 5 to 10 minutes to be ready. You also get a domain name like https://xxxxx.cloudfront.net as we are using SSL now through the CDN. In the next section, I’ll show you how to set it up on the server.
Enable SSL
We’re enforcing HTTPS from the CDN, but the communication from the CDN to WordPress is happening over HTTP. To avoid getting into a redirect loop where WordPress is redirecting HTTP to HTTPS, we need to edit the configuration file wp-config.php. Connect via SSH to the server and type into the terminal:
$ vi /bitnami/wordpress/wp-config.phpThen add these two lines at the top of the file. I made the mistake of adding these to the bottom, and it took me several hours to find out why I was not getting the content under the folder “wp-includes” on SSL.
define('FORCE_SSL_ADMIN', true);
$_SERVER['HTTPS'] = 'on';
Also, scroll down to find these two lines, and make sure to update the protocol HTTP to HTTPS:
define( 'WP_HOME', 'https://' . $_SERVER['HTTP_HOST'] . '/' );
define( 'WP_SITEURL', 'https://' . $_SERVER['HTTP_HOST'] . '/' );
Now you can save the file and close it.
As a quick note on why you should use HTTPS for your website, in summary, it is better for Search Engine Optimisation. It loads faster. It is more secure as the communication is encrypted.
4. Custom Domain Name
The next step after having the CDN created is to use my domain name. To set it up, from the Lightsail dashboard, select the Networking tab, then click on your CDN-WordPress distribution, and select the” Custom domains” tab.
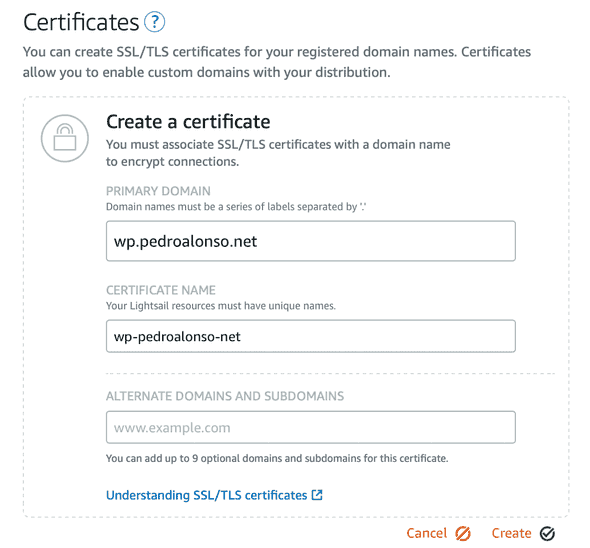
As you can see, the toggle to enable my custom domain is disabled because I don’t have a valid SSL certificate, and I’m enforcing SSL traffic through the CDN. So I will create an SSL certificate by entering the domain name that I want to use, giving it a name, and clicking on the Create button. Like in the screenshot below:
After creating the certificate, we need to create a DNS CNAME entry in our domain provider, in my case, it’s Route53, to confirm that we are the domain owners. It will take a few minutes. Once the domain is validated, you will be able to enable the custom domain toggle. Also, don’t forget to create the CNAME for your custom domain. In my case, it’d be something like wp.pedroalonso.net CNAME xxxxxx.cloudfront.net.
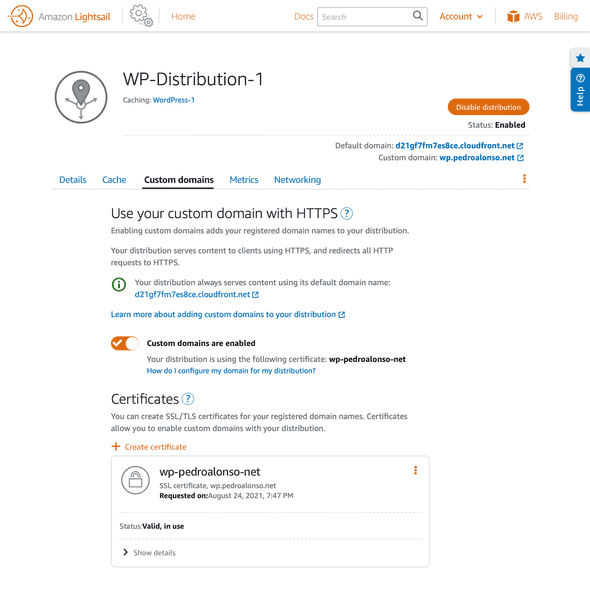
We’re in a moment to celebrate. At this point, you can access WordPress through your custom domain, using a CDN and SSL.
5. Installing a New Theme
I quite liked that by default, the Theme that comes installed by default with WordPress these days is very minimal. I wanted to try how difficult installing a new theme and activating it for the website would be. So from the WordPress dashboard, I just had to go to the Appearance -> Theme menu option. As you can see in the screenshot below, a lot of themes are offered for free:
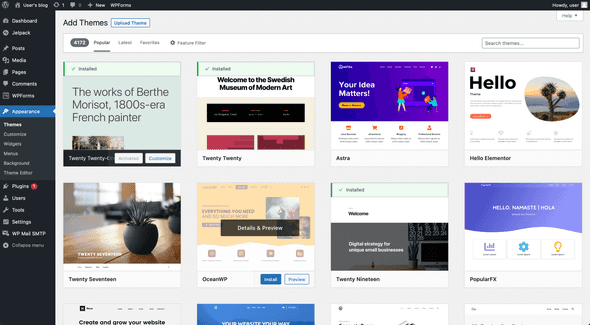
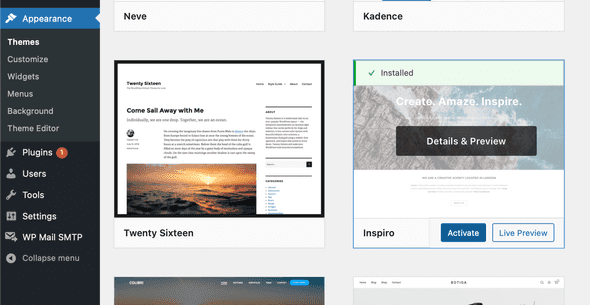
You can also buy premium ones from many websites or create your own. When you find a theme that you like, you get the Install button when you hover over the Theme with your mouse. After it’s installed, you have to activate it, as easy as clicking on the Activate button.
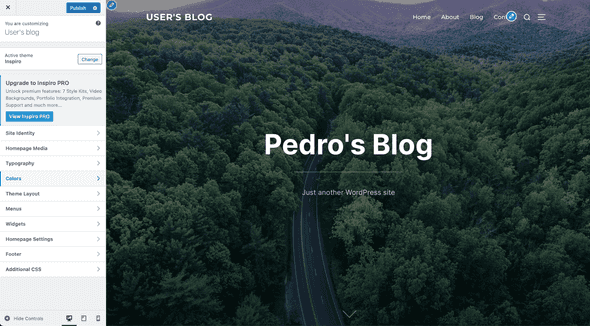
After it’s active, different themes will give you additional customisation options, and for the more complex ones, you also get documentation for the specific Theme. In this case, it’s a relatively simple one, as you can see in this screenshot:
And this is how you can install and select a different theme for your blog or website.
6. Improve your Site Security
Here you have a few extra security considerations as WordPress being so popular, is a target for hackers:
- Keep everything updated: it is essential to keep WordPress and your installed plugins updated.
- Use a strong password: this one is as easy as it sounds. Try to use a long password with symbols and numbers to make it hard to guess.
- Activate Two Factor Authentication (2FA): if you already use it for other websites, you can also activate it for WordPress using one of the plugins available for this.
- Create a firewall: You can enhance the instance security by creating a firewall and make access more restricted.
- Configure JetPack: is made by WordPress experts to make WP sites safer and faster, and it’s installed by default with the image we used for the server, so just configure it to your needs.
We already use SSL in the front-end and admin panel, which is also a safe recommended practice.
7. Additional Plugins to Consider
Given that the ecosystem of Themes and Plugins for WordPress is massive, I will give you here only a few of the most popular use cases where you can use plugins. You can also create a custom one if any available plugins do not cover your need.
- Email Newsletters: most major newsletter providers have their custom plugins, but if you want to self-host and maybe use Amazon SES or Mailgun to send your email newsletters, this plugin is well rated.
- SEO management: Yoast SEO is a popular plugin to help you with all metatags and SEO stuff to rank higher on Search Engines.
- Forms creator: If you want to create any form on your website, like a contact form, several plugins are also available for this.
- Bookings: If you have to offer any service where you need to take bookings, also many plugins are available to cover this need.
- Ecommerce: The most used plugin for eCommerce is WooCommerce, and probably it deserves its blog post.
8. Conclusion
As you can see in this tutorial, it’s easier and cheaper than ever to host a WordPress site professionally. A topic that it’s also essential but I haven’t covered as part of this tutorial is Backups. Also, depending on your expected traffic or availability needs, there are other more complex architectures, but I haven’t covered this specific use case either. Hopefully, this tutorial has been helpful to you and don’t hesitate to leave your questions or suggestions in the comments.


